

Checkpoint analyzes everything recorded so far, mid-appointment, and hands you a read on the customer before you walk back in. Run it at any natural break — while the customer steps away, before you present pricing.
Run a Checkpoint
Find the slider
While a recording is running, Slide to checkpoint sits at the bottom of the recording screen.
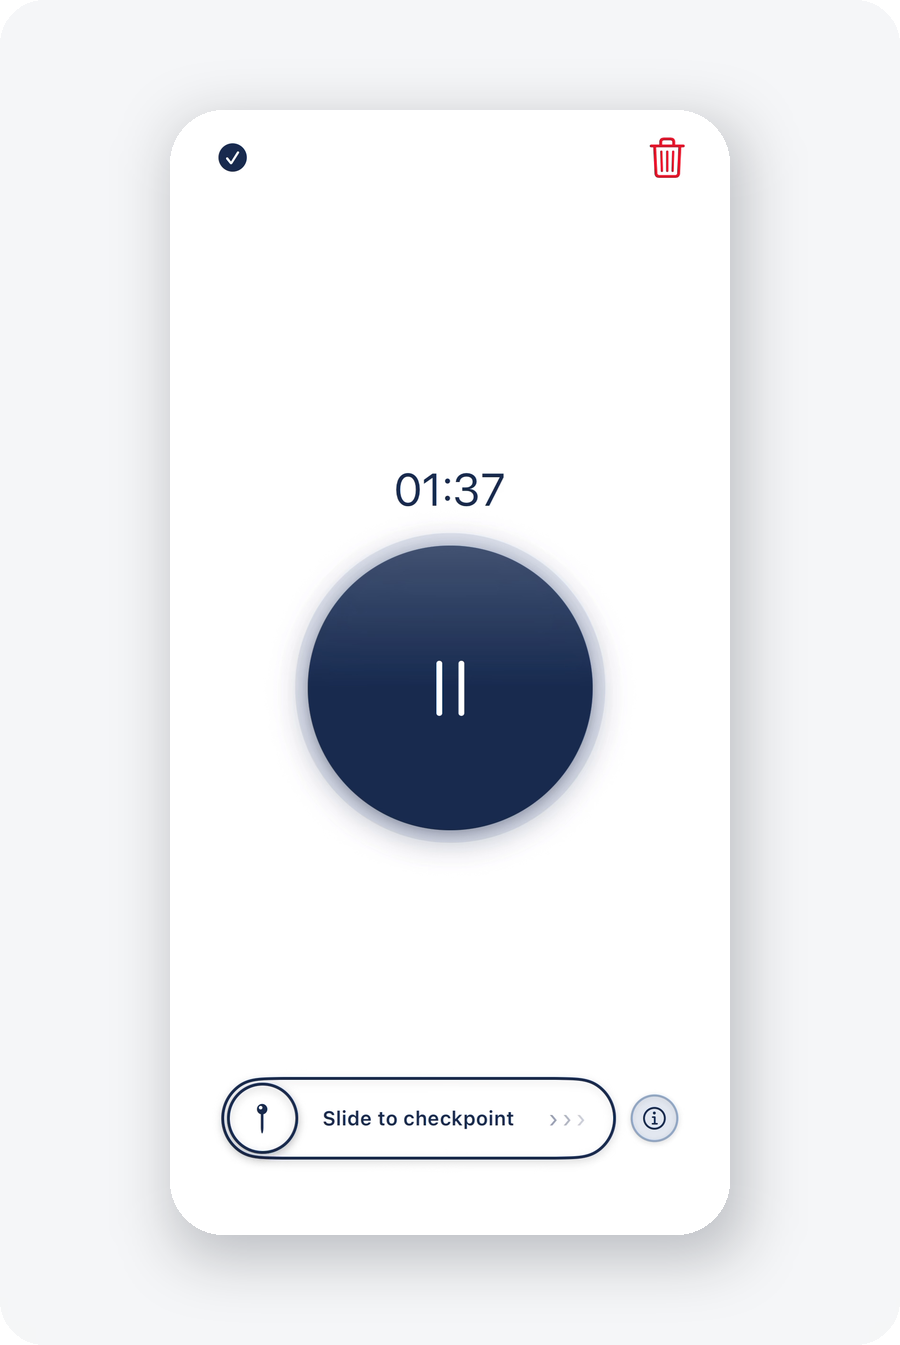
Swipe it
The recording keeps going — Checkpoint analyzes in the background while you keep working. Swipe as many times as you want during one appointment; each Checkpoint covers everything up to that moment.
Read the results
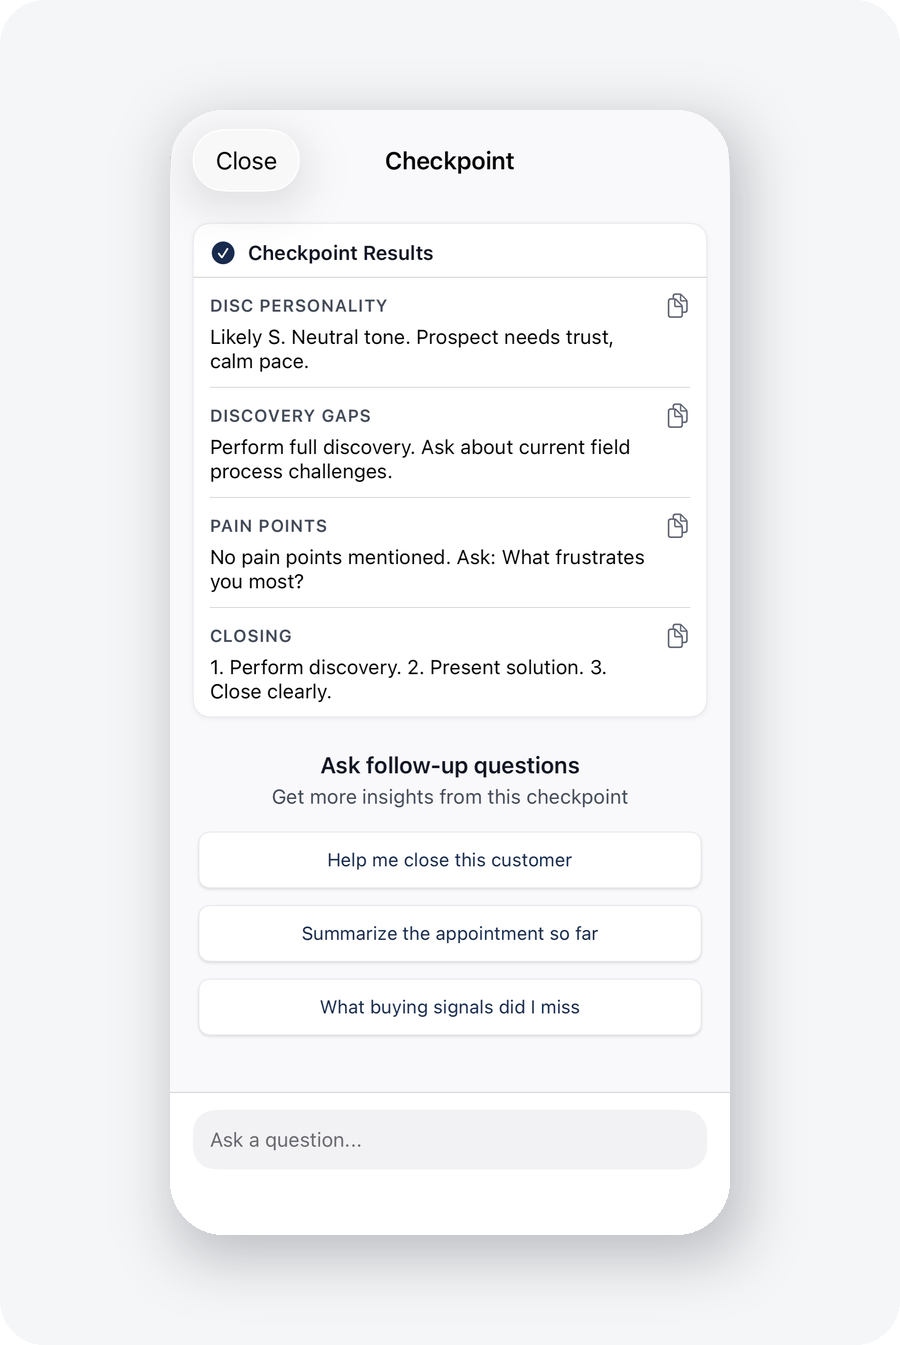
Your team configures what appears. A typical setup: the customer’s communication style (DISC read, tone, pace), discovery gaps still open, pain points heard so far, and your closing plan.
Ask follow-up questions
Tap a suggested question (“Help me close this customer,” “Summarize the appointment so far”) or type your own — “what was the dog’s name?”, “what did she say about timing?” The answers come from this conversation, not a script.
Good to know
- Recording never pauses. Closing the Checkpoint panel drops you back into the live recording.
- It needs service. The recording itself continues offline, but the analysis requires internet or cellular. In a dead zone, keep recording; Checkpoint works again when service returns.
- What’s shown is configurable — admins choose the Checkpoint sections in scorecard/team settings.
The when-and-why — running it before pricing, using the objection read to adjust your close — is in the Checkpoint lesson in Craft University.